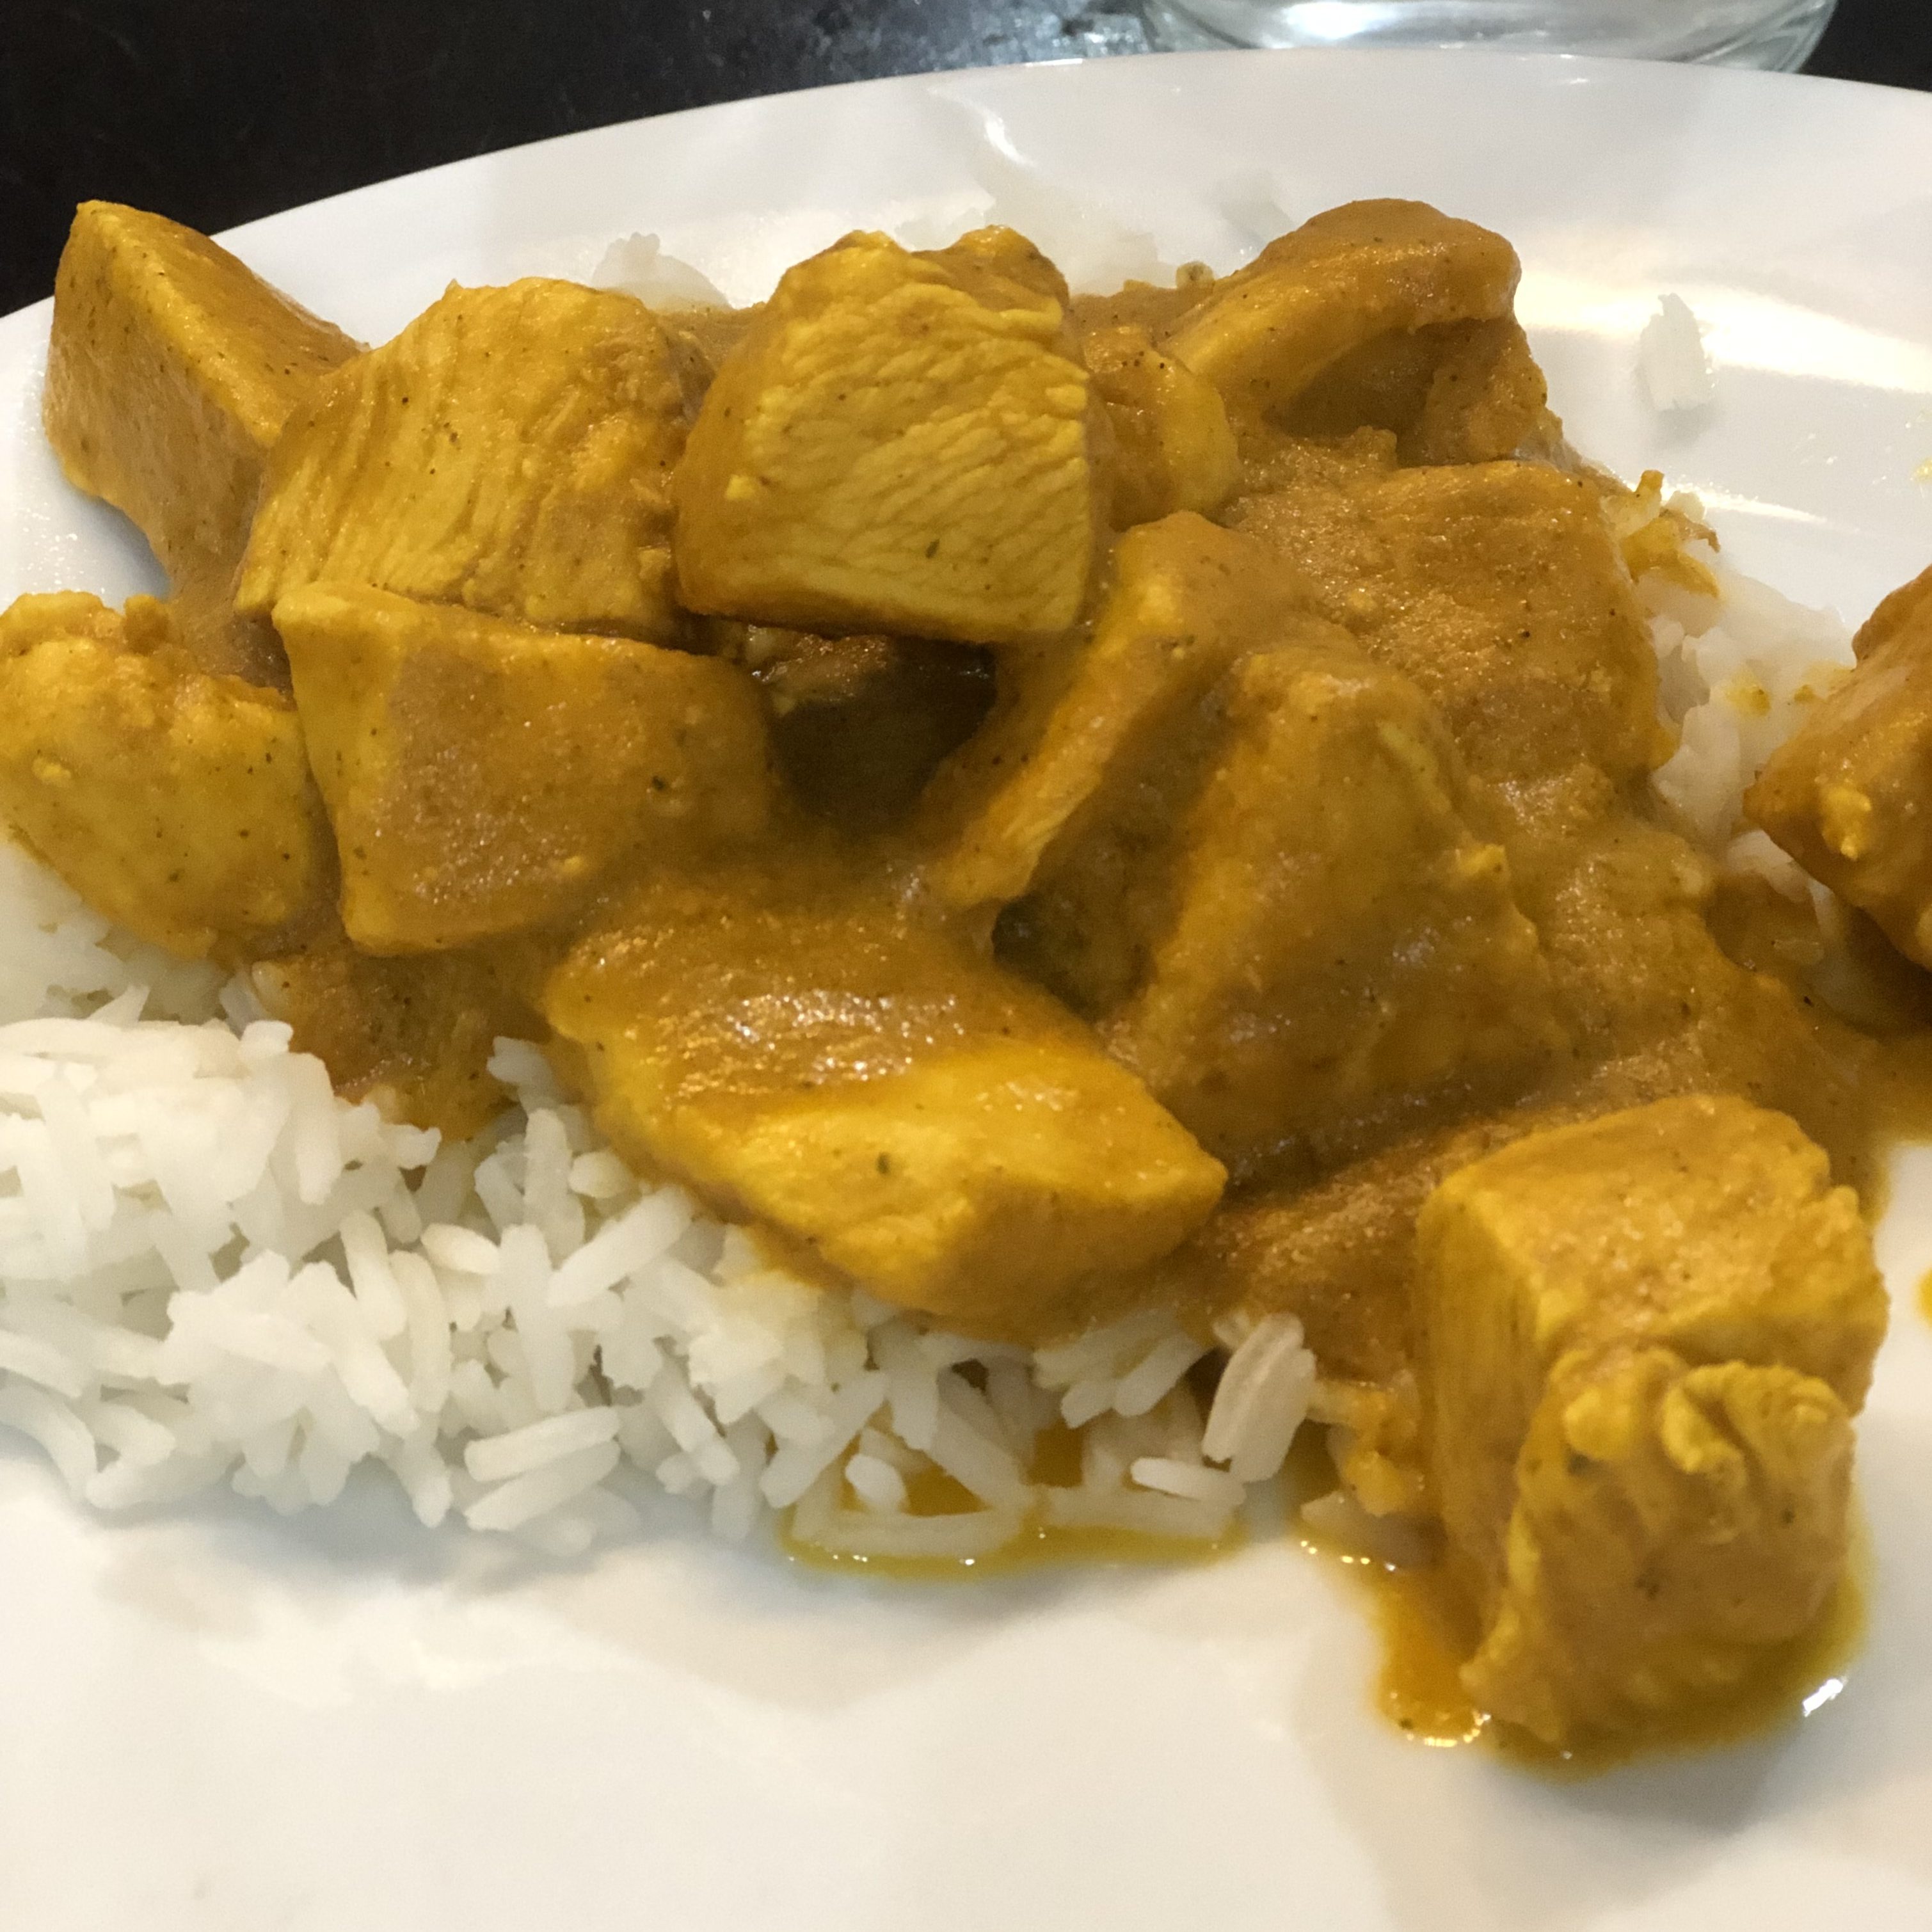
Hidden-veg Chicken Curry

Gluten-free | Dairy-free | Soy-free | Clean eating | Veggies

Not beautifully staged photos, but this recipe was such a success that I don’t want to forget how I modified it.

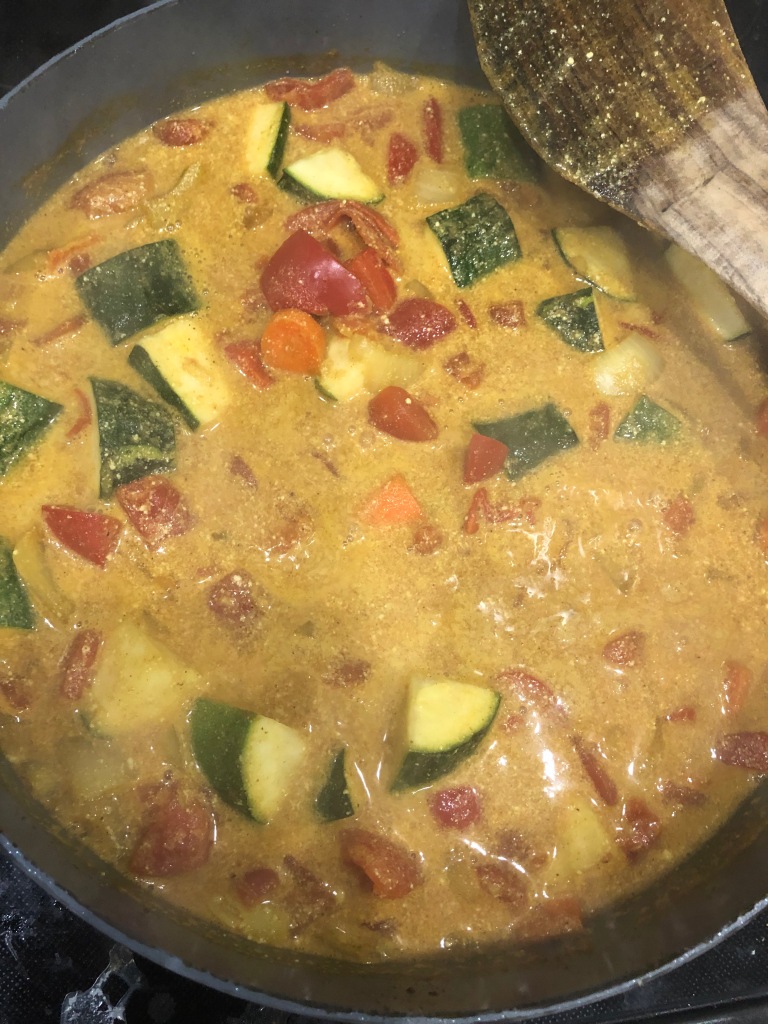
Our kids love curry but are suspicious at best about most vegetables, so I took a big chance on this recipe. It involves taking these gorgeous colorful veggies below and blitzing them in a blender into a silky sauce. I wondered if I’d be able to pull it off….

And I DID! The kids LOVED it. We have a new dinnertime winner!

Hidden-veg Chicken Curry (Original recipe here)

  • 1 Tbsp olive oil
  • 1 small onion, diced
  • 3 cloves garlic, crushed
  • 1 carrot, chopped
  • 1/4 tsp ginger
  • 2 Tbsp curry powder
  • 2 tsp garam masala
  • 1/2 tsp salt (more to taste)
  • up to 1/4 tsp cayenne
  • small zucchini, large dice
  • 1 large carrot, diced
  • 100g (or just a couple handfuls) riced cauliflower (I used frozen)
  • 1/4-1/2 red pepper, diced
  • 1 can chopped tomatoes
  • 1 can coconut milk
  • 150 mL chicken broth
  • 4 chicken breasts, diced and seasoned with salt & pepper
  1. Heat oil in a large saucepan or wok and add onion, garlic, and carrot. Saute 2-3 minutes, until softened.
  2. Add spices & stir to coat; saute until fragrant, 1-2 minutes more.
  3. Add remaining ingredients (except for chicken). Bring to boil; let simmer 20 minutes.
  4. Add to blender; blitz until smooth. Return to pan. (You could also use an immersion blender right in the pan if you have one.)
  5. Add chicken. Continue to simmer 15-18 minutes (I did it while I cooked the rice), stirring occasionally, until chicken is cooked through.
  6. Season to taste with salt & pepper.
  7. Serve over jasmine rice and be amazed at how your kids down their veggies with abandon!

**PRO TIP: This curry is REALLY saucy. My second time making it, I was able to feed our family with leftovers AND save about a quart or more of sauce to freeze for another time! Then you can skip to Step 5!

Leave a comment

Filed under Uncategorized

Island Teriyaki Bowl

Gluten-free | Dairy-free | Nut-free

I haven’t posted in over 4 years, but I’m sharing this recipe today because, selfishly, I want to remember the changes I made to it. I’ve been in a rut and it’s the first new recipe in a WHILE that the kids have ALL eaten without complaint. Thank goodness!

Supposedly it’s based on the Rumbi rice bowls, but I’ve never eaten there and I hear they’re not that great anyway, so don’t let that deter you, haha!

Hawaiian Coconut Rice & Beans (original recipe here – we just did a half recipe for our family)

  • 2 cups white rice – we used Jasmine
  • 2 1/2 cups water
  • 14 oz coconut milk
  • 1/2 Tbsp sugar
  • 14-oz can red beans, drained and rinsed

Teriyaki sauce (adapted from here and here)

  • 1 1/2 cups cold water
  • 3/4 cup packed brown sugar
  • 1/2 cup Tamari sauce
  • 1 tsp cider vinegar
  • 1 tsp garlic powder or granulated garlic
  • 3 Tbsp corn starch
  • 1 tsp sesame oil
  • up to 2 tsp chili garlic sauce

Stir Fry Chicken & Vegetables (adapted from here)

  • 2 Tbsp canola or other high-heat oil, divided
  • 2 chicken breasts, 1-inch dice
  • 4 carrots, peeled and cut into matchsticks
  • 1 zucchini, chopped into small cubes
  • 1 1/2 cups broccoli florets
  • salt & pepper
  • optional: a few shakes of Tamari sauce
  1. Combine rice & bean ingredients in a pot with lid and bring to a boil over medium-high heat. Cover & reduce heat to med-low or low; let simmer 18-20 min or until rice is tender.
  2. While rice is cooking, combine sauce ingredients in a saucepan. Bring to a boil, stirring constantly. Reduce heat and continue stirring until sauce thickens and turns lighter in color. Remove from heat until ready to serve. This sauce will keep in a covered container in your fridge for up to a week.
  3. In a wok or large skillet, heat 1 Tbsp oil over med-high heat. Season chicken breast chunks with salt & pepper, then add to skillet and saute until browned and cooked through, 3-5 min. Remove to a plate.
  4. Heat remaining 1 Tbsp oil in same pan. Add broccoli florets first and stir fry about 1-2 min. Add carrot matchsticks and stir fry a couple min more. Finally add zucchini and stir fry until all veggies are crisp tender, seasoning with salt & pepper and a couple shakes of soy sauce.
  5. Add chicken to skillet and combine. Keep warm until ready to serve.
  6. To serve: start with rice & beans, then top with chicken & veggies. Serve sauce on the side for dipping, or drizzle a couple Tbsp over the top of the stir fry. Enjoy!

Leave a comment

Filed under Uncategorized

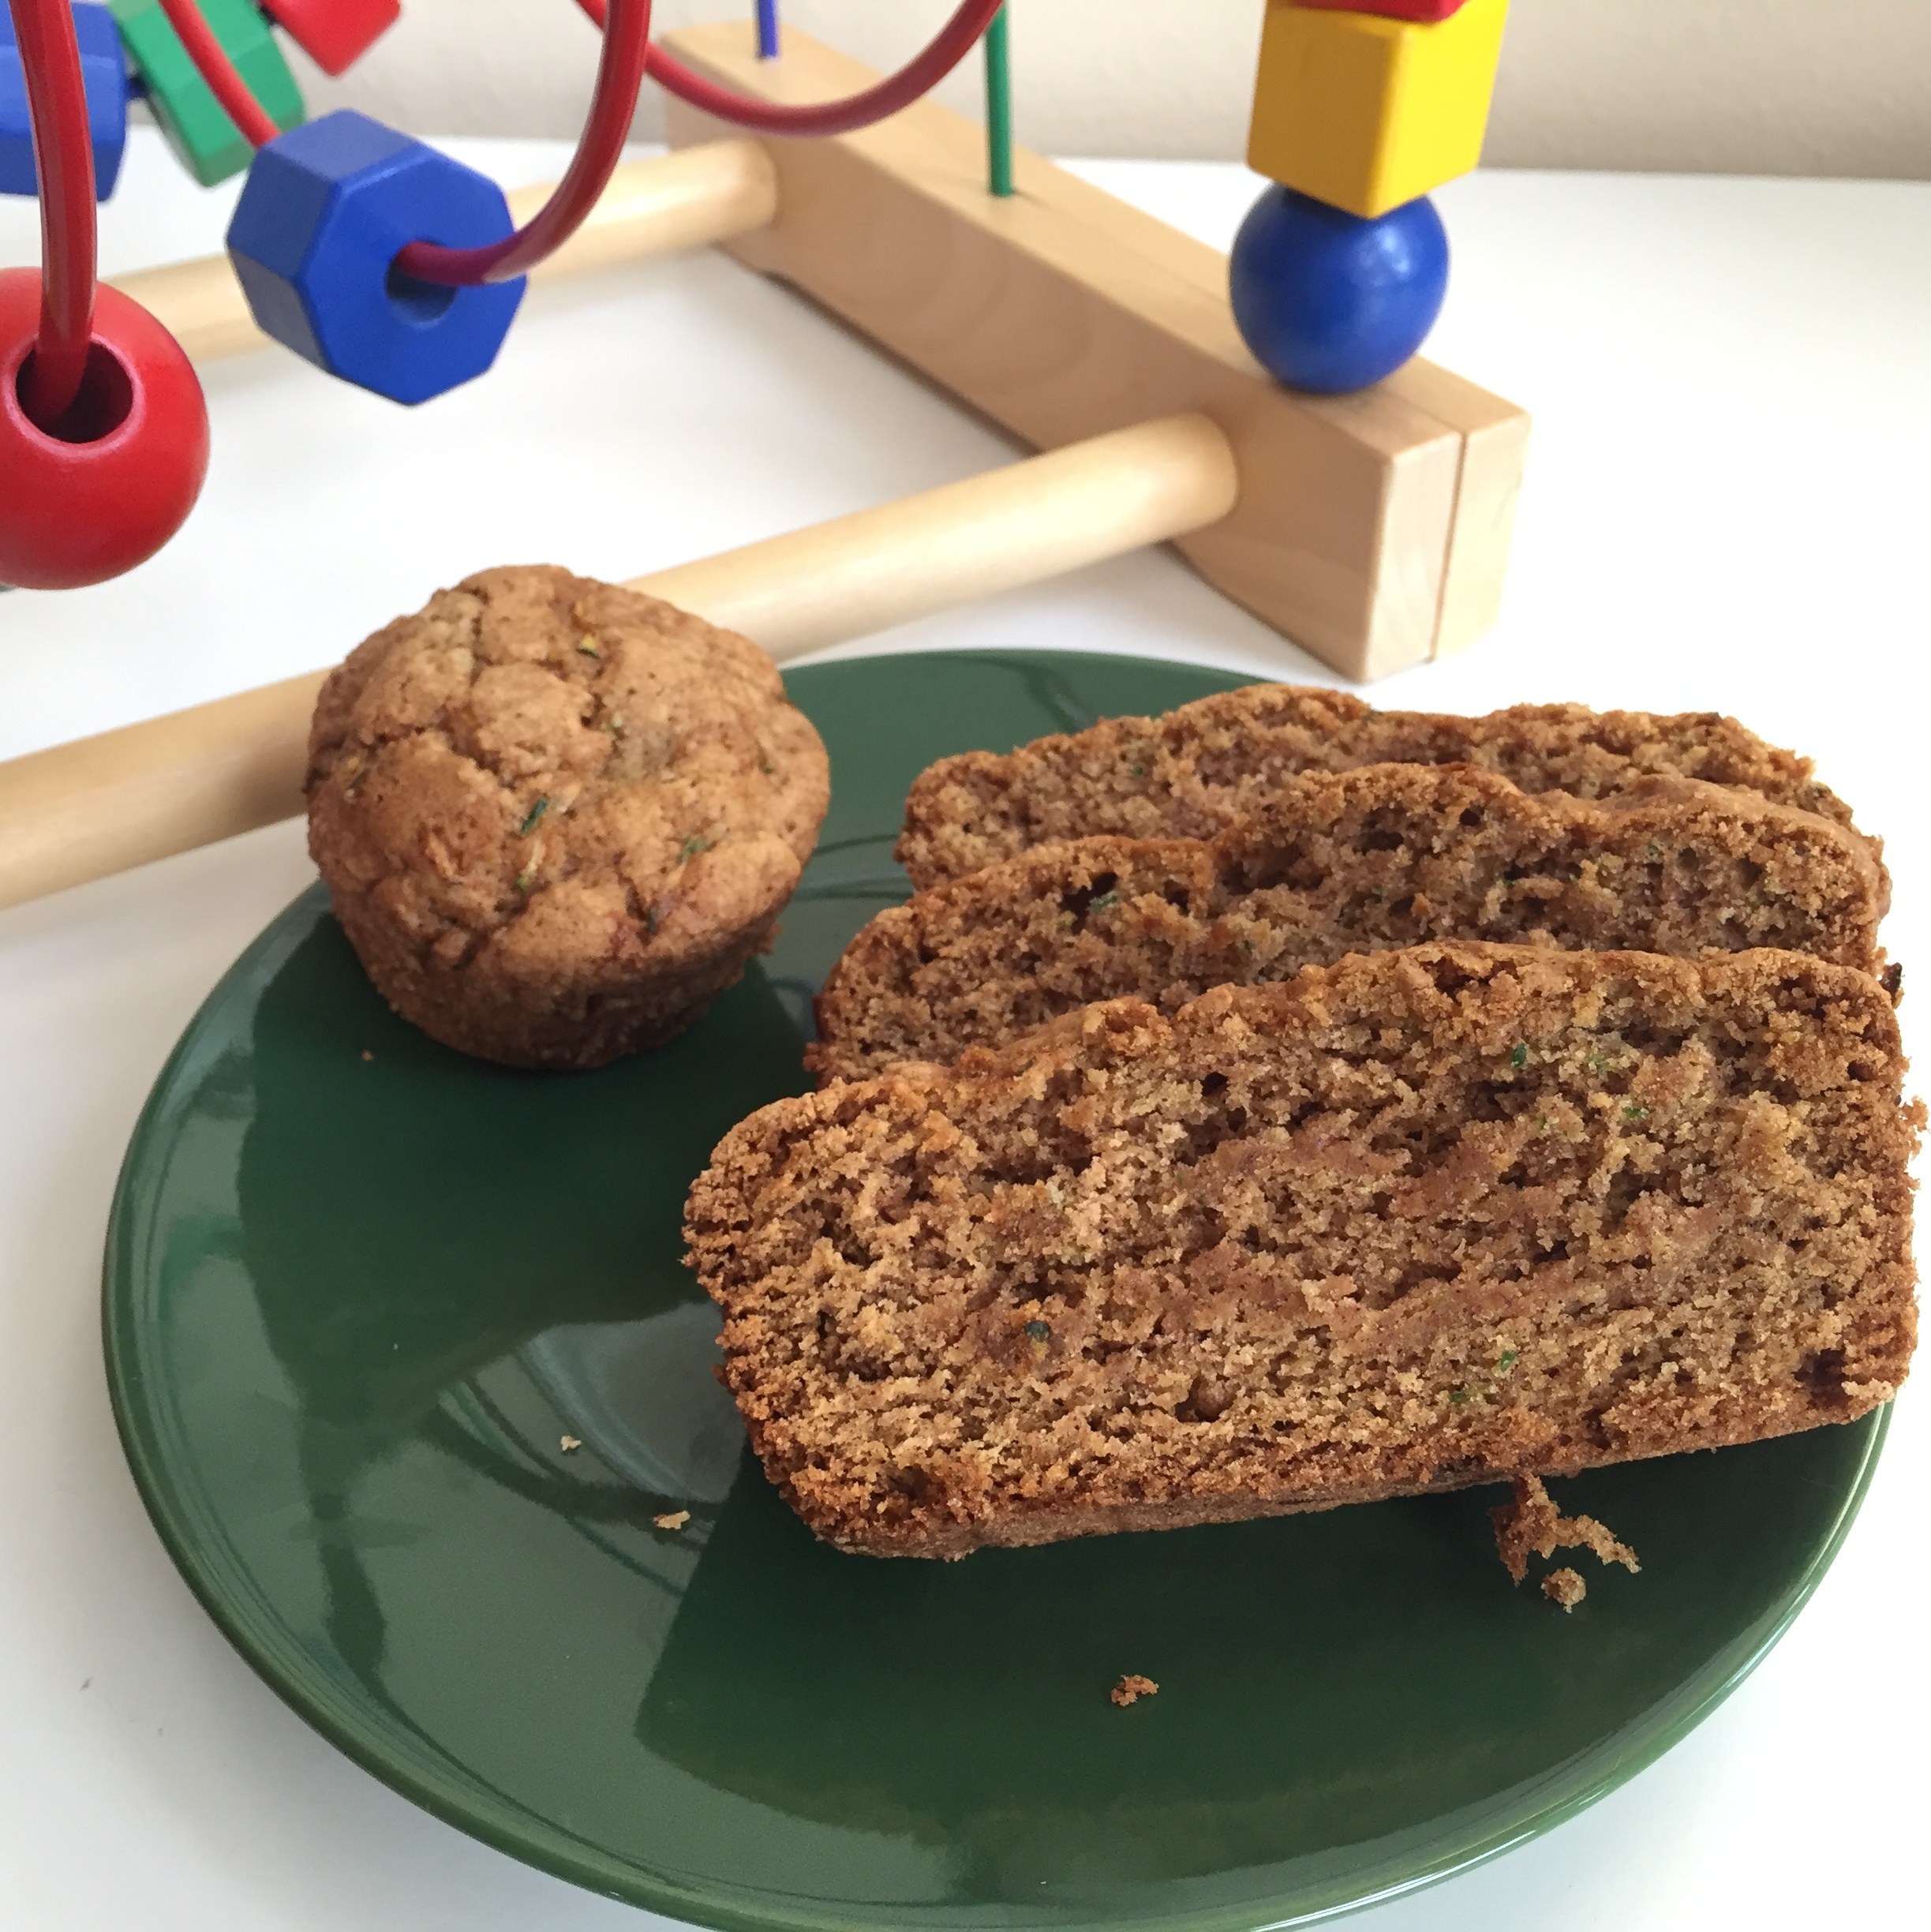
Mom’s Zucchini Bread (& muffins).

Gluten-free option | Dairy-free | Soy-free | Nut-free option

IMG_2884

When I was growing up, zucchini bread was synonymous with summer time. My mom would grow HUGE zucchini in the backyard, and we couldn’t wait to grate it into this delicious sweet treat. I wouldn’t eat zucchini any other way as a kid, and I’m sure all the sugar and refined flour more than negates any nutritional value the squash contributes, but hey, it made me feel better about how much I scarfed down. And my girls seem to think that it counts as a vegetable too. The loaf is usually over half gone before it’s cooled!

The trick was adapting it to gluten-free while still preserving the fluffy crumb and sugary crust that I remember so well from my childhood. I may still tinker with the relative amounts a bit, but I wanted to get this all written down so I don’t forget it for next time.

This recipe makes two standard loaves, or one loaf and 9 muffins.

Zucchini Bread

From my mom’s recipe

  • 1 1/2 cups brown rice flour*
  • 1/2 cup oat flour*
  • 1/2 cup tapioca starch*
  • 1/2 cup potato starch*
  • 2 tsp xanthan gum*
  • 1 Tbsp cinnamon
  • 1 tsp salt
  • 1 tsp baking soda
  • 1/2 tsp baking powder*
  • 3 eggs, beaten
  • 1 cup white sugar
  • 1 cup brown sugar
  • 1 cup canola oil
  • 1 Tbsp vanilla
  • 2 cups grated zucchini, densely packed (don’t squeeze the moisture out)
  • optional: 1/2 cup chopped walnuts

*If you don’t need to be gluten-free, substitute 3 cups all-purpose flour for the starred ingredients and reduce baking powder to 1/4 tsp.

  1. Preheat oven to 325 and lightly spray loaf pan(s) and/or muffin tin(s) with soy-free cooking spray.
  2. Sift together dry ingredients into a medium bowl. Set aside.
  3. In a large bowl, whisk together eggs, sugars, oil, and vanilla. Stir in dry ingredients. Stir in zucchini, and nuts if using.
  4. Pour into prepared pans. Bake 60-70 minutes or until a toothpick inserted in the center comes out clean.

1 Comment

Filed under Recipes

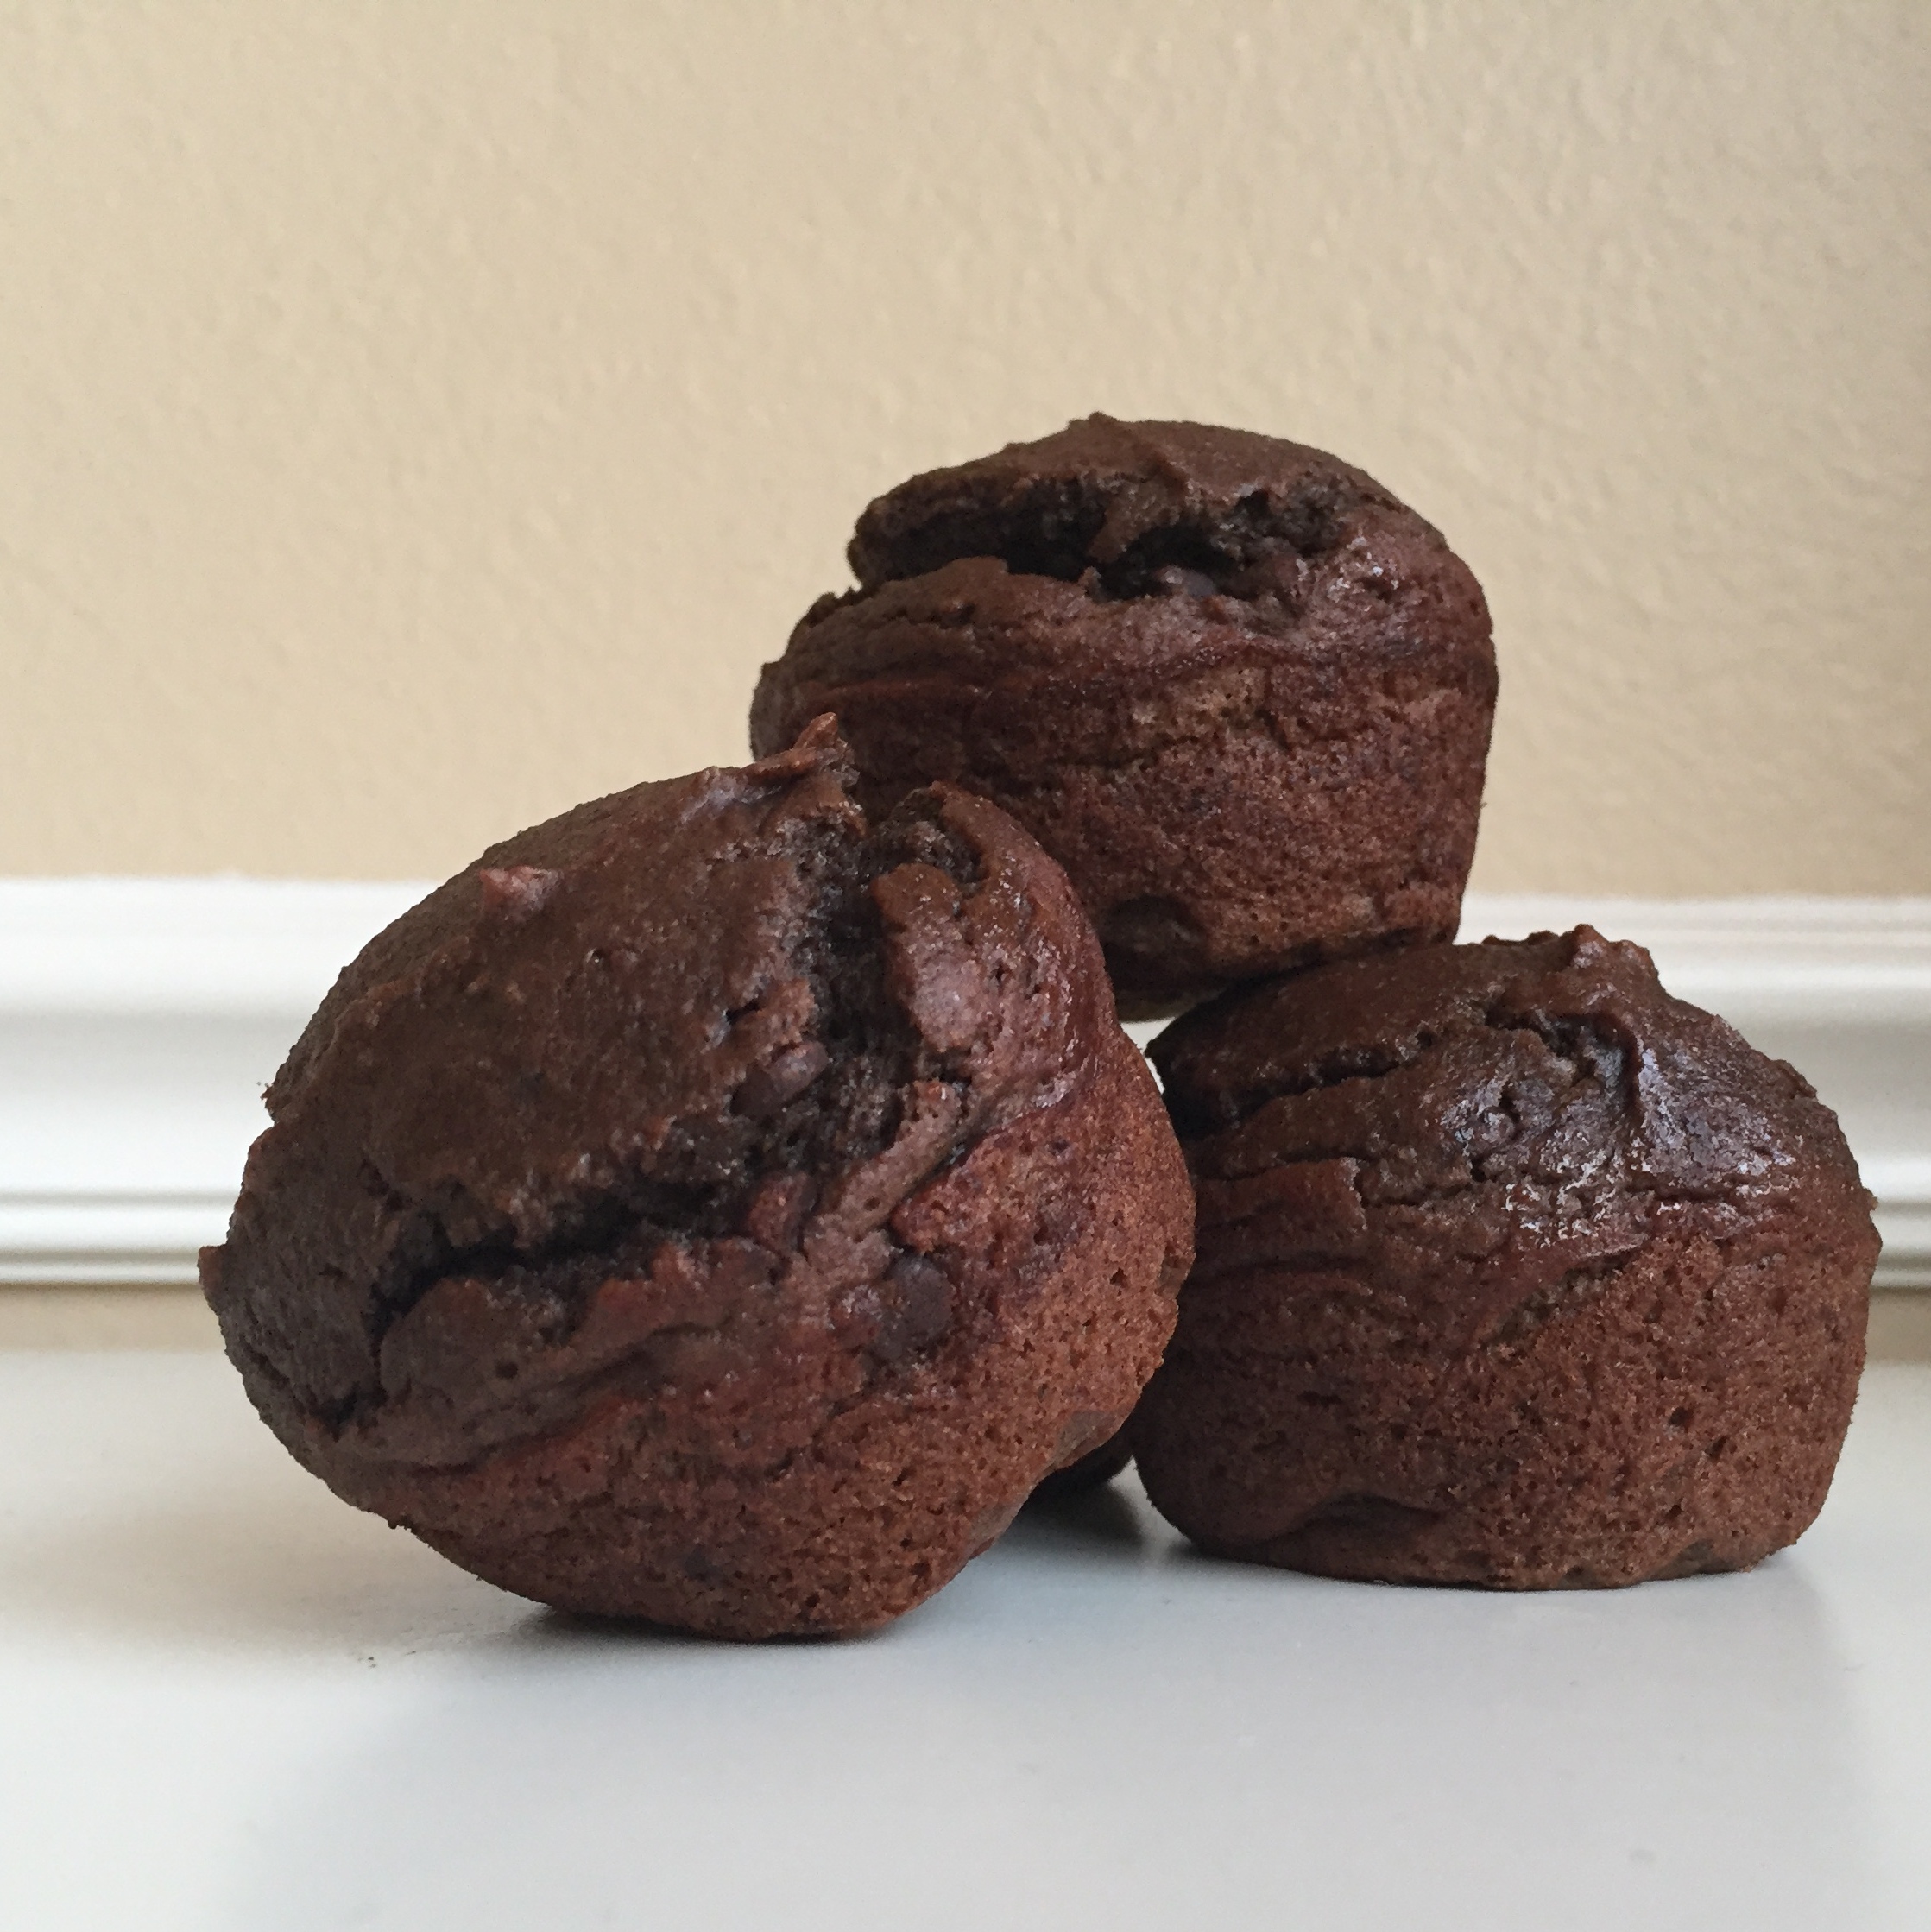
Double Chocolate Banana Quinoa Muffins.

Gluten-free | Dairy-free | Soy-free | Nut-free

IMG_3062

Look who joined us a week and a half ago!

BabyIsaac-15He’s just perfection. His big sisters are always asking to touch and kiss and look at him; I’ve never seen them so excited about washing their hands!

We’re in the midst of the sleep-deprived, nursing-round-the-clock newborn stage, and I don’t know how it is that I always forget with each kid just how ravenous I get when I’m nursing. Here’s what’s been getting me through the day (and night):

These banana muffins, made with gluten-free brown rice flour blend

These peanut butter balls – the oats and flaxseed are fantastic for milk supply!

My mom’s zucchini bread, in muffin form (recipe coming as soon as I get the gluten-free flours worked out!)

And of course, these new muffins. They’re inspired by this cake, which is quinoa-based and naturally gluten-free, and which we had for both Mother’s Day and Father’s Day this year because we loved it so much. Quinoa is rich in protein, fiber, and iron, making it awesome for perpetually starving nursing moms, so I wanted to see if I could find a recipe that put the chocolate quinoa cake deliciousness into slightly-healthier muffin form. This one adds bananas for more vitamins and minerals, and removes the dairy! Wins all around! I decided to employ the cake recipe’s method of blending the quinoa until smooth in order to give the muffins that same delicious texture.

This recipe makes 1 dozen. Let’s just say I wish I’d doubled it right off the bat; they became such a fast family favorite, I don’t think there’ll be any left for me to snack on at 3am tonight!

Double Chocolate Banana Quinoa Muffins

Adapted from here

  • 1/2 cup gluten-free flour blend of choice (I used King Arthur Measure for Measure–or use all-purpose flour if you don’t need gluten-free)
  • 1/3 cup unsweetened cocoa powder
  • 2 tsp baking powder
  • 1/4 tsp baking soda
  • 1/2 tsp salt
  • 1/4 cup white sugar
  • 1/3 cup packed brown sugar
  • 1 cup cooked and cooled quinoa
  • 2 large bananas
  • 2 large eggs
  • 1/2 tsp vanilla
  • 1/3 cup Enjoy Life mini chocolate chips
  1. Preheat oven to 350 and spray the wells of a muffin tin with soy-free cooking spray.
  2. Sift together flour, cocoa, baking powder, baking soda, and salt into a large bowl. Whisk in white and brown sugars.
  3. Place quinoa, bananas, eggs, and vanilla in a blender and blend until smooth.
  4. Pour liquid ingredients into dry ingredients and stir until well combined. Stir in chocolate chips.
  5. Use a 1/4 cup triggered ice cream scoop to scoop batter into the prepared muffin tin.
  6. Bake 18-20 minutes or until a toothpick inserted in the center comes out mostly clean.
  7. Allow to cool several minutes, then remove from the muffin tin to finish cooling.
  8. Enjoy!

3 Comments

Filed under Recipes

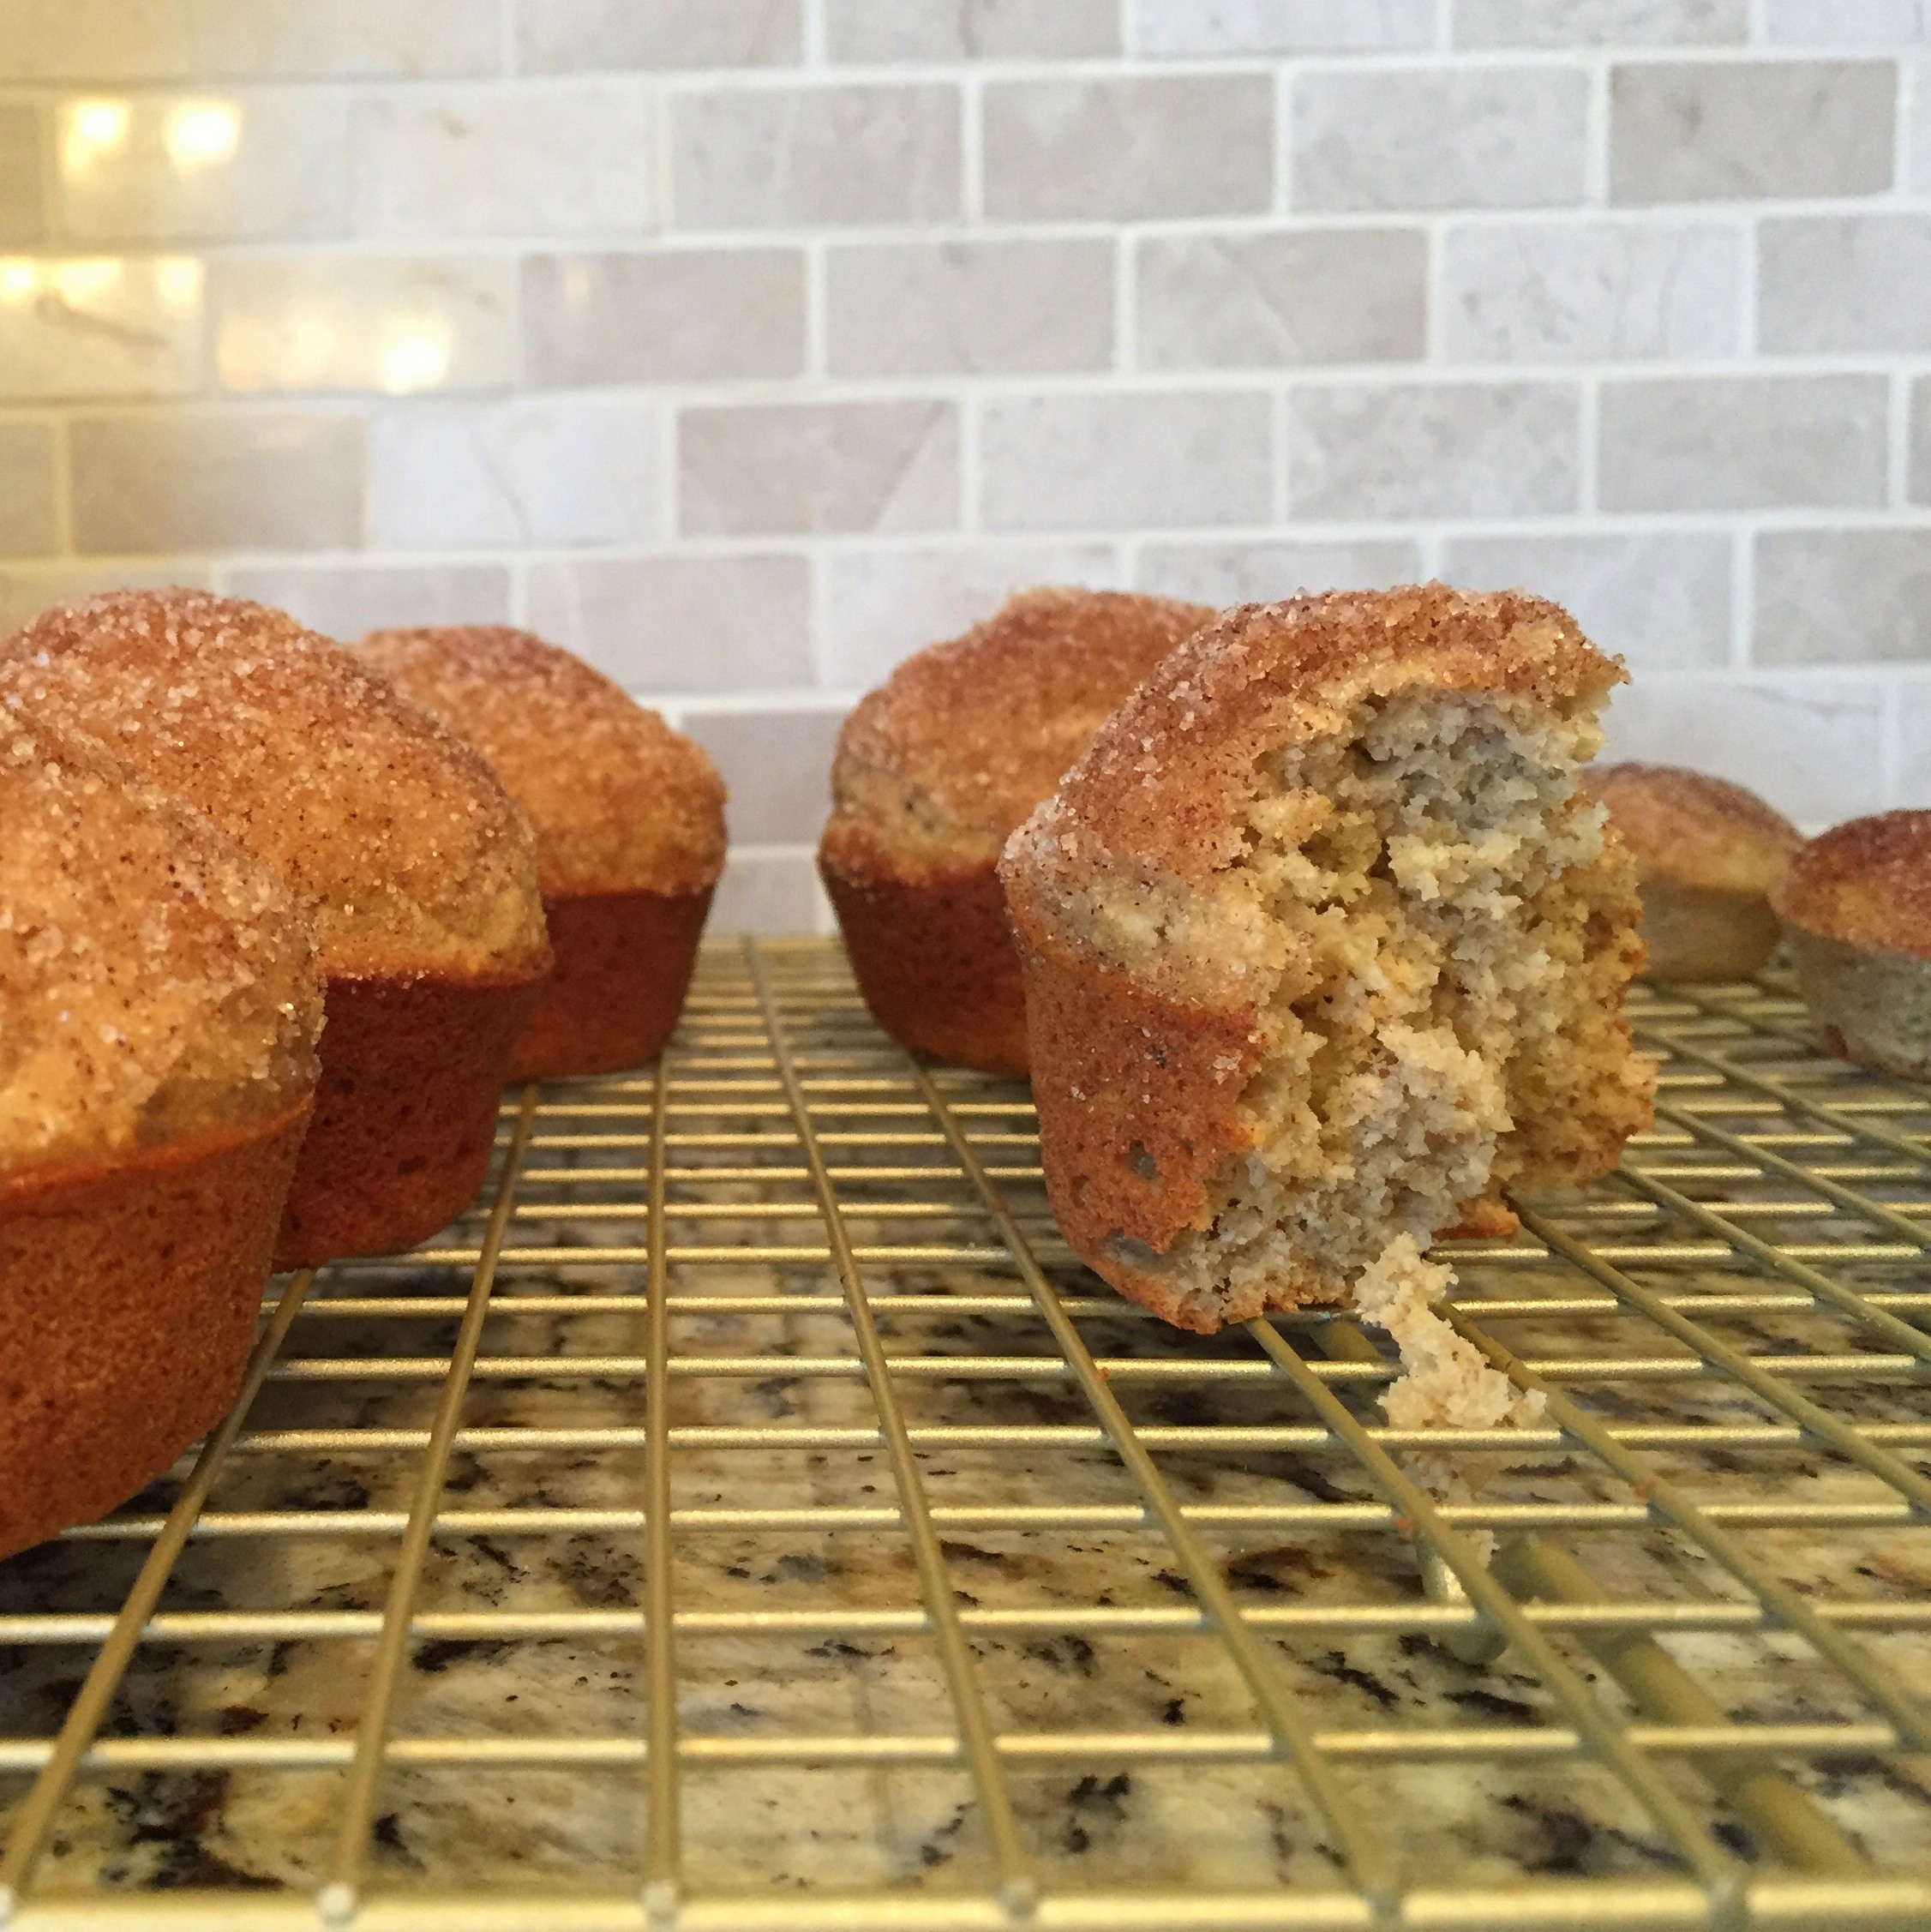
Oatmeal Spice Muffins.

Gluten-free | Soy-free | Dairy-free option | Nut-free option

IMG_2816

These muffins remind me a lot of my husband’s favorite “Freedom Puffs,” but are JUST different enough to not feel like a flimsy gluten-free counterfeit. The hearty oat flour creates a firmer bite and the little hint of orange in the batter just adds so much to the flavor! I’ve been having a hard time getting textures right in gluten-free muffins, but these do a great job without requiring extra steps and ingredients. They will definitely be a staple in this house!

Makes about 16 regular sized muffins, or a dozen regular plus a half dozen mini muffins.

Gluten-free Oatmeal Spice Muffins

Original recipe here

  • 3 1/2 cups quick oats (gluten-free)
  • 1 Tbsp baking powder
  • 1/2 tsp salt
  • 1/2 tsp nutmeg
  • optional: 1/2 cup finely chopped pecans
  • 3/4 cup unsweetened applesauce
  • 1/2 cup white sugar
  • 2 eggs
  • 3 drops orange essential oil or 2 tsp orange zest
  • 1 tsp vanilla
  • 1 cup milk of choice
  • 4 Tbsp butter (or soy-free vegan buttery stick), melted
  • 1/3 cup sugar mixed with 3/4 tsp cinnamon
  1. Preheat oven to 350 and grease the wells of your muffin tin(s) with soy-free cooking spray.
  2. Put oats in a blender and blend to a flourlike consistency. Put oat flour in a large mixing bowl and add baking powder, salt, nutmeg, and pecans; stir to combine well.
  3. In a smaller bowl, whisk together applesauce, sugar, eggs, orange, vanilla, and milk.
  4. Add wet ingredients to the dry ones and mix with a spatula until just combined.
  5. Ladle batter into the wells of your muffin tin and bake 14-18 minutes or until a toothpick inserted in the centers comes out clean.
  6. Let cool until they can be handled, then dip the tops in the butter and then cinnamon-sugar mixture.

1 Comment

Filed under Recipes

My most favorite cookie: Classic Oatmeal Chocolate Chip.

Gluten-free option | Dairy-free option | Soy-free | Nut-free

IMG_2760

Oh, Classic Oatmeal Chocolate Chip Cookies, how do I love thee? Let me count the ways:

I love you before you ever get into the oven. I love you straight out of the oven. I love you 3 days later–though you rarely last that long.

I have loved you dairy-free.

I have loved you with a bit of flaxseed added to the dough when my milk supply was suffering.

I loved you in Switzerland with chopped-up Swiss chocolate bars when we were desperately homesick for something that tasted familiar.

And now, I love you gluten-free.

Suffice it to say, friends, these cookies are favorites around here. And I have made them SO many different ways during SO many different phases of our lives, and they’re always delicious. One of the many things I love about the recipe is how easy and straightforward  it is–almost everything is whole cups or teaspoons, so it dirties fewer utensils and I now have the recipe memorized–so I don’t want to make it too unnecessarily complex with lots of different measurements. I’ve been trying to think of how to best post this recipe with all of the variations we’ve done to accommodate various changes in diet over the years, and I hope that this is the best solution. Bear with me!

Classic Oatmeal Chocolate Chip Cookies

Original recipe here

  • 1 cup (2 sticks) unsalted butter, room temp
  • 1 cup packed light brown sugar
  • 1 cup white sugar
  • 2 large eggs
  • 1 tsp vanilla
  • 1 tsp salt
  • 1 tsp baking soda
  • 1 tsp baking powder
  • 2 cups flour
  • 2 3/4 cups old-fashioned oats (if you live in a humid climate, like I do, where cookies are prone to spreading, I’ve found that 2 cups old-fashioned plus 3/4 cup quick oats help the cookies maintain their shape and thickness best)
  • 2 cups chocolate chips (we use half milk, half semisweet)

Nursing variation (has helped me and several friends boost breastmilk supply):
Substitute up to 1/4 cup flaxseed meal for up to 1/4 cup of the oats (quick oats, if using).

Dairy-free variation:
Substitute Earth Balance soy-free buttery stick for butter. Decrease salt by 1/4 tsp. Substitute 1 1/2 to 1 3/4 cup Enjoy Life semisweet mini chips for the chocolate chips.

Whole-grain variations:
Substitute whole-wheat pastry flour for all of the all-purpose flour, or use 1 cup white whole-wheat flour and 1 cup all-purpose flour.

Gluten-free variation:
For the flour, substitute 2 1/4 cups (note the extra 1/4 cup) gluten-free baking blend and ensure that all remaining ingredients are gluten-free. Because we’re always trying to get more fiber into this new gluten-free diet, we use 1 1/2 cups Cup 4 Cup brand all-purpose flour (the blue bag) plus 3/4 cup Cup 4 Cup brand Wholesome Flour (the green bag) because it contains brown rice flour and flaxseed for more fiber.

  1. Preheat oven to 350 and line baking sheets with parchment.
  2. In your stand mixer, cream together butter and sugars. Beat in eggs and vanilla until light and fluffy.
  3. Mix in salt, baking soda, and baking powder.
  4. Add all remaining ingredients and mix until just combined.
  5. Spoon 2-Tbsp-sized balls of dough (I use a dough scoop) onto cookie sheet and bake 10 minutes or until golden around the edges and set in the middle. Cool on the cookie sheet a few minutes before transferring to cooling rack. Makes about 3 dozen.

2 Comments

Filed under Recipes

Colorful Chicken Veggie Stir-Fry

Gluten-free | Dairy-free | Egg-free | Nut-free | Clean eating option | Soy-free option

IMG_2634

This is a great, easy, adaptable weeknight option for getting lots of protein and colorful veggies with minimal effort! Just include whatever veggies your family likes (or at least will tolerate) and watch them scarf it down!

Colorful Chicken Veggie Stir-Fry

Original recipe here

  • 1 lb chicken breasts, cut into bite-sized pieces
  • 1/4 cup gluten-free tamari sauce (or soy sauce)*
  • 1 Tbsp rice vinegar (apple cider vinegar works great too)
  • 1 tsp sesame oil (optional)
  • 2 cloves garlic, minced
  • 1/4 tsp ground ginger
  • up to 1/4 tsp red pepper flakes
  • 3/4 cup low-sodium chicken broth (gluten-free)
  • 2 tsp corn starch
  • 1 Tbsp grapeseed oil (or other high-heat oil like canola), divided
  • up to 6 cups assorted veggies (I used halved baby carrots, diced red pepper, frozen broccoli florets, frozen peas, and frozen corn–just use what you have on hand. Other suggestions: zucchini, squash, red onion, edamame, etc.)
  • cooked rice, for serving (use brown rice for clean eating)

*For soy-free, try coconut aminos

  1. Combine tamari sauce, vinegar, sesame oil (if using), garlic, ginger, and red pepper flakes in a medium bowl, then add chicken and toss to coat.
  2. Marinate 10 minutes in the refrigerator, then drain, reserving marinade in a measuring cup. Add chicken broth, then whisk in corn starch until smooth.
  3. Heat 1 tsp oil in a large wok or nonstick skillet over medium-high heat. Add chicken. Stir-fry until cooked through. Set aside.
  4. Increase heat to high and add remaining 2 tsp oil to wok. Add veggies in order of how long they take to cook: carrots obviously are first, then broccoli, then smaller veggies. Remember frozen veggies take less time to cook. Stir-fry until crisp-tender; do not overcook, as they’ll continue to soften when you add the sauce.
  5. Add chicken and sauce, then stir-fry until sauce has begun to thicken, 2-3 minutes.
  6. Serve over cooked rice.

1 Comment

Filed under Recipes

Going Gluten-Free: Super-Easy One-Skillet Chicken with Cilantro-Lime Black Bean Rice.

Gluten-free | Dairy-free | Soy-free | Nut-free | Egg-free

IMG_2648

My middle daughter (the strawberry gelato aficionado from my last post) was recently diagnosed celiac just before her 5th birthday. Over the past couple of months, I’d noticed some changes in her that worried me: she was sleeping later than either of her sisters, but was still tired all the time, wearing out much more quickly than usual. She complained often of belly pain and growing pains, she had circles under her eyes, would often get unexplained low-grade fevers, and she was much more easily irritated. So I called our pediatrician’s nurse line and expressed my concerns, asking if we could get some blood work done before her 5-year checkup. The doctor wanted to see her right away after hearing the symptoms I was describing, and ran a full panel for everything from mono to anemia, diabetes to liver dysfunction, cancer to celiac. Her celiac numbers were astounding, and we were referred to a GI specialist right away. At that visit, she weighed in at 34 pounds. 5 days before her 5th birthday. Being in the 90th percentile for height. Her dot was 2 full inches BELOW the BMI curve. I knew something wasn’t right, but I wasn’t prepared for that shock.

As you know from my MSPI posts, we’re no strangers to accommodating dietary changes, but as hard as it was do avoid dairy and soy, I knew that it was temporary; I only had to cut them out for 6 months until my baby’s stomach was strong enough to get it through my milk, and my now-almost-3-year-old grew out of it at 18 months. Being told that celiac was a change for life–and an autoimmune disease, no less–and that she was so malnourished as a result of the malabsorption that we were one step away from a feeding tube, was a LOT to take in. (Keep in mind we’re also expecting baby #4 in 2 months, are getting a house ready to sell, and are building a house.)

But my pity party is over (for the time being) and now I’m setting to work researching recipes and finding gluten-free snacks that my pickiest eater (of course it WOULD be my pickiest eater) will eat so that she can catch up to her growth curve.

I’ve had some success adapting some of her favorites of my old standbys (I’ll do a separate post about those), but while I have the time before Baby comes, I’m trying to expand my repertoire of naturally gluten-free meals that are easy and don’t require the separate pots and pans needed to prevent cross-contamination (I told you it’s a lot to take in).

If you’ve been around for awhile, you already know what big fans we are of the many variations of chicken-and-rice dishes, but one of the challenges of gluten-free eating is finding ways to keep the fiber content up when we’re so used to eating whole-wheat almost everything. So I love that this easy one-skillet meal mixes the beans right in with no effort!

One-Skillet Chicken with Cilantro-Lime Black Bean Rice

Adapted from here

  • 1 Tbsp olive oil
  • 4 boneless skinless chicken breasts (or use skin-on thighs like in the original recipe)
  • salt and pepper
  • 2 cups low-sodium chicken broth (make sure it says “gluten-free”)
  • 1/2 cup water
  • 1/4 tsp salt
  • 1/2 tsp cumin
  • 4 cloves garlic, minced
  • 1 cup jasmine rice
  • 1-2 Tbsp (I used 1 1/2) fresh-squeezed lime juice (can be bottled; I add a drop of Lime essential oil to mask the bottled taste)
  • 1 1/2 Tbsp dried cilantro (or 1/4 cup fresh chopped)
  • 1 can black beans, rinsed and drained
  1. Heat a wide, deep skillet with lid on medium-high and add the olive oil. Swirl to coat the bottom of the pan. Season both sides of the chicken with salt and pepper, then lay them face down in the pan and brown 4 minutes–careful not to burn.
  2. Turn chicken breasts and brown on medium heat 2 more minutes. Remove to a plate (they won’t be done through yet).
  3. To the same skillet, add chicken broth, water, salt, cumin, garlic, and rice. Stir to incorporate and bring to a boil. Place chicken on top, making wells in the rice for each chicken breast, reduce heat to a simmer, cover, and cook 15 minutes or until rice is tender, moisture is absorbed, and chicken is done through.
  4. Remove chicken to a plate and add lime juice (start with 1 Tbsp), cilantro, and black beans. Taste and adjust amount of lime juice. Then place chicken breasts on top to serve.

2 Comments

Filed under Recipes

Fresh strawberry gelato.

Soy-free | Gluten-free | Nut-free | Egg-free

IMG_2436

More fun strawberry stuff!

I have another tasty strawberry ice cream recipe on here that takes less time, so if you’re just hankering for homemade strawberry ice cream NOW, go check it out. BUT–here’s the trouble with strawberry ice cream: it gets icy. The water content in those delicious berries is so high that it’s hard to get homemade ice cream to stay creamy after freezing without a little work. Enter this recipe. If you want silky, strawberry-y cold deliciousness, this is it.

Once upon a time (two years ago), there was a family living in Switzerland. The family loved ice cream–especially gelato. And one of the children in the family especially loved strawberry gelato. In the six months that family lived there–and the summer they spent there the year before–this little girl only ever ordered strawberry gelato. And this was a lot of times, because we (I mean they) lived down the street from a Swiss ice cream shop called Movenpick, and we spent weeks in the grips of a record heat wave with no air conditioning, so we often had literally no other recourse but to eat gelato multiple times a day during that period. (It helped that the ice cream shop was across the street from the fountains we played in to keep cool.)

IMG_5690

(That’s her on the left with her signature pink strawberry gelato scoop. The oldest daughter always got something chocolaty–girl after her mother’s heart–and the youngest was still allergic to dairy, so her kind and selfless mother usually got sorbet, which was also amazing, to share with her.)

Ever since getting back to the States, this little girl, who’s always been on the choosy side anyway, has been asking for gelato, and where we live, there just isn’t any to be found. So when I found a recipe for fresh strawberry gelato on one of my favorite resources for delicious recipes, I got pretty excited.

IMG_4310

Though the amount of actual work is pretty minimal, it takes a bit of prep and planning, so I was working on it last night, and happened to read in the blogger’s “backstory text” (whatever you call this stuff I’m writing right now that you always scroll past to get to the actual recipe) that she had never actually been to Italy to try the real thing. Being that we’re total gelato snobs now after our own travels through Italy and living in a country that borders Italy and houses lots of Italian transplants, this got my husband and me worried. But the work was pretty much done, so we were committed.

As he poured it into the ice cream maker, though, Husband kept IMG_2442licking his fingers. And as it came out of the ice cream maker and he put it in the container to freeze, he couldn’t wait to lick the spatula. And when we finally got to scoop it into our bowls and eat it for ourselves, it was a hit. My middle child, understandably the strawberry gelato expert–who also happened to be wearing a matching pink Swiss cow shirt at the time, so she must know what she’s talking about–proclaims it mid-bite-thumbs-up perfect. My husband, who also often ordered fruity gelato flavors, says it’s not Italian gelato, but it’s really good ice cream. My oldest and I always preferred chocolate–or else I was eating sorbet–so we’ll defer to them.

The verdict? We’ll call it gelato* with an asterisk. It’s really really really good ice cream, without the iciness you so often get with the homemade stuff, and in any case, it’s certainly cheaper than a trip back to Giolitti in Rome. But if you get the chance, definitely try to get to Giolitti. Maybe this’ll hold you over until then.

Fresh strawberry gelato* (or at least just really good ice cream)

Original recipe here

  • 3/4 cup granulated sugar
  • 1 Tbsp cornstarch
  • 1 cup whole milk
  • 3/4 cup heavy cream
  • 1/2 tsp vanilla
  • 2 1/2 cups sliced ripe fresh (or frozen from fresh and then thawed) strawberries
  1. In a medium saucepan, whisk together sugar and cornstarch. Slowly whisk in milk and cream.
  2. Place the pan on medium heat and cook, whisking constantly, 5-10 minutes or until bubbling and thickening.
  3. Pour into a medium container (a 4-cup measuring cup worked great for us), press plastic wrap to the surface of the mixture, and refrigerate to cool completely.
  4. Puree the strawberries until smooth.
  5. Pour the puree through a fine mesh strainer into the cream mixture, using a rubber spatula to press the liquid through while the strainer catches the pulp and seeds. (Or at least most of them.) Stir well.
  6. Press plastic wrap to the surface again and refrigerate several hours or overnight.
  7. Process in your ice cream maker as directed. Transfer to an airtight container and freeze at least 2 hours until fairly firm before enjoying. (Trust me, it’s worth the wait.)
Leave a comment

Filed under Recipes

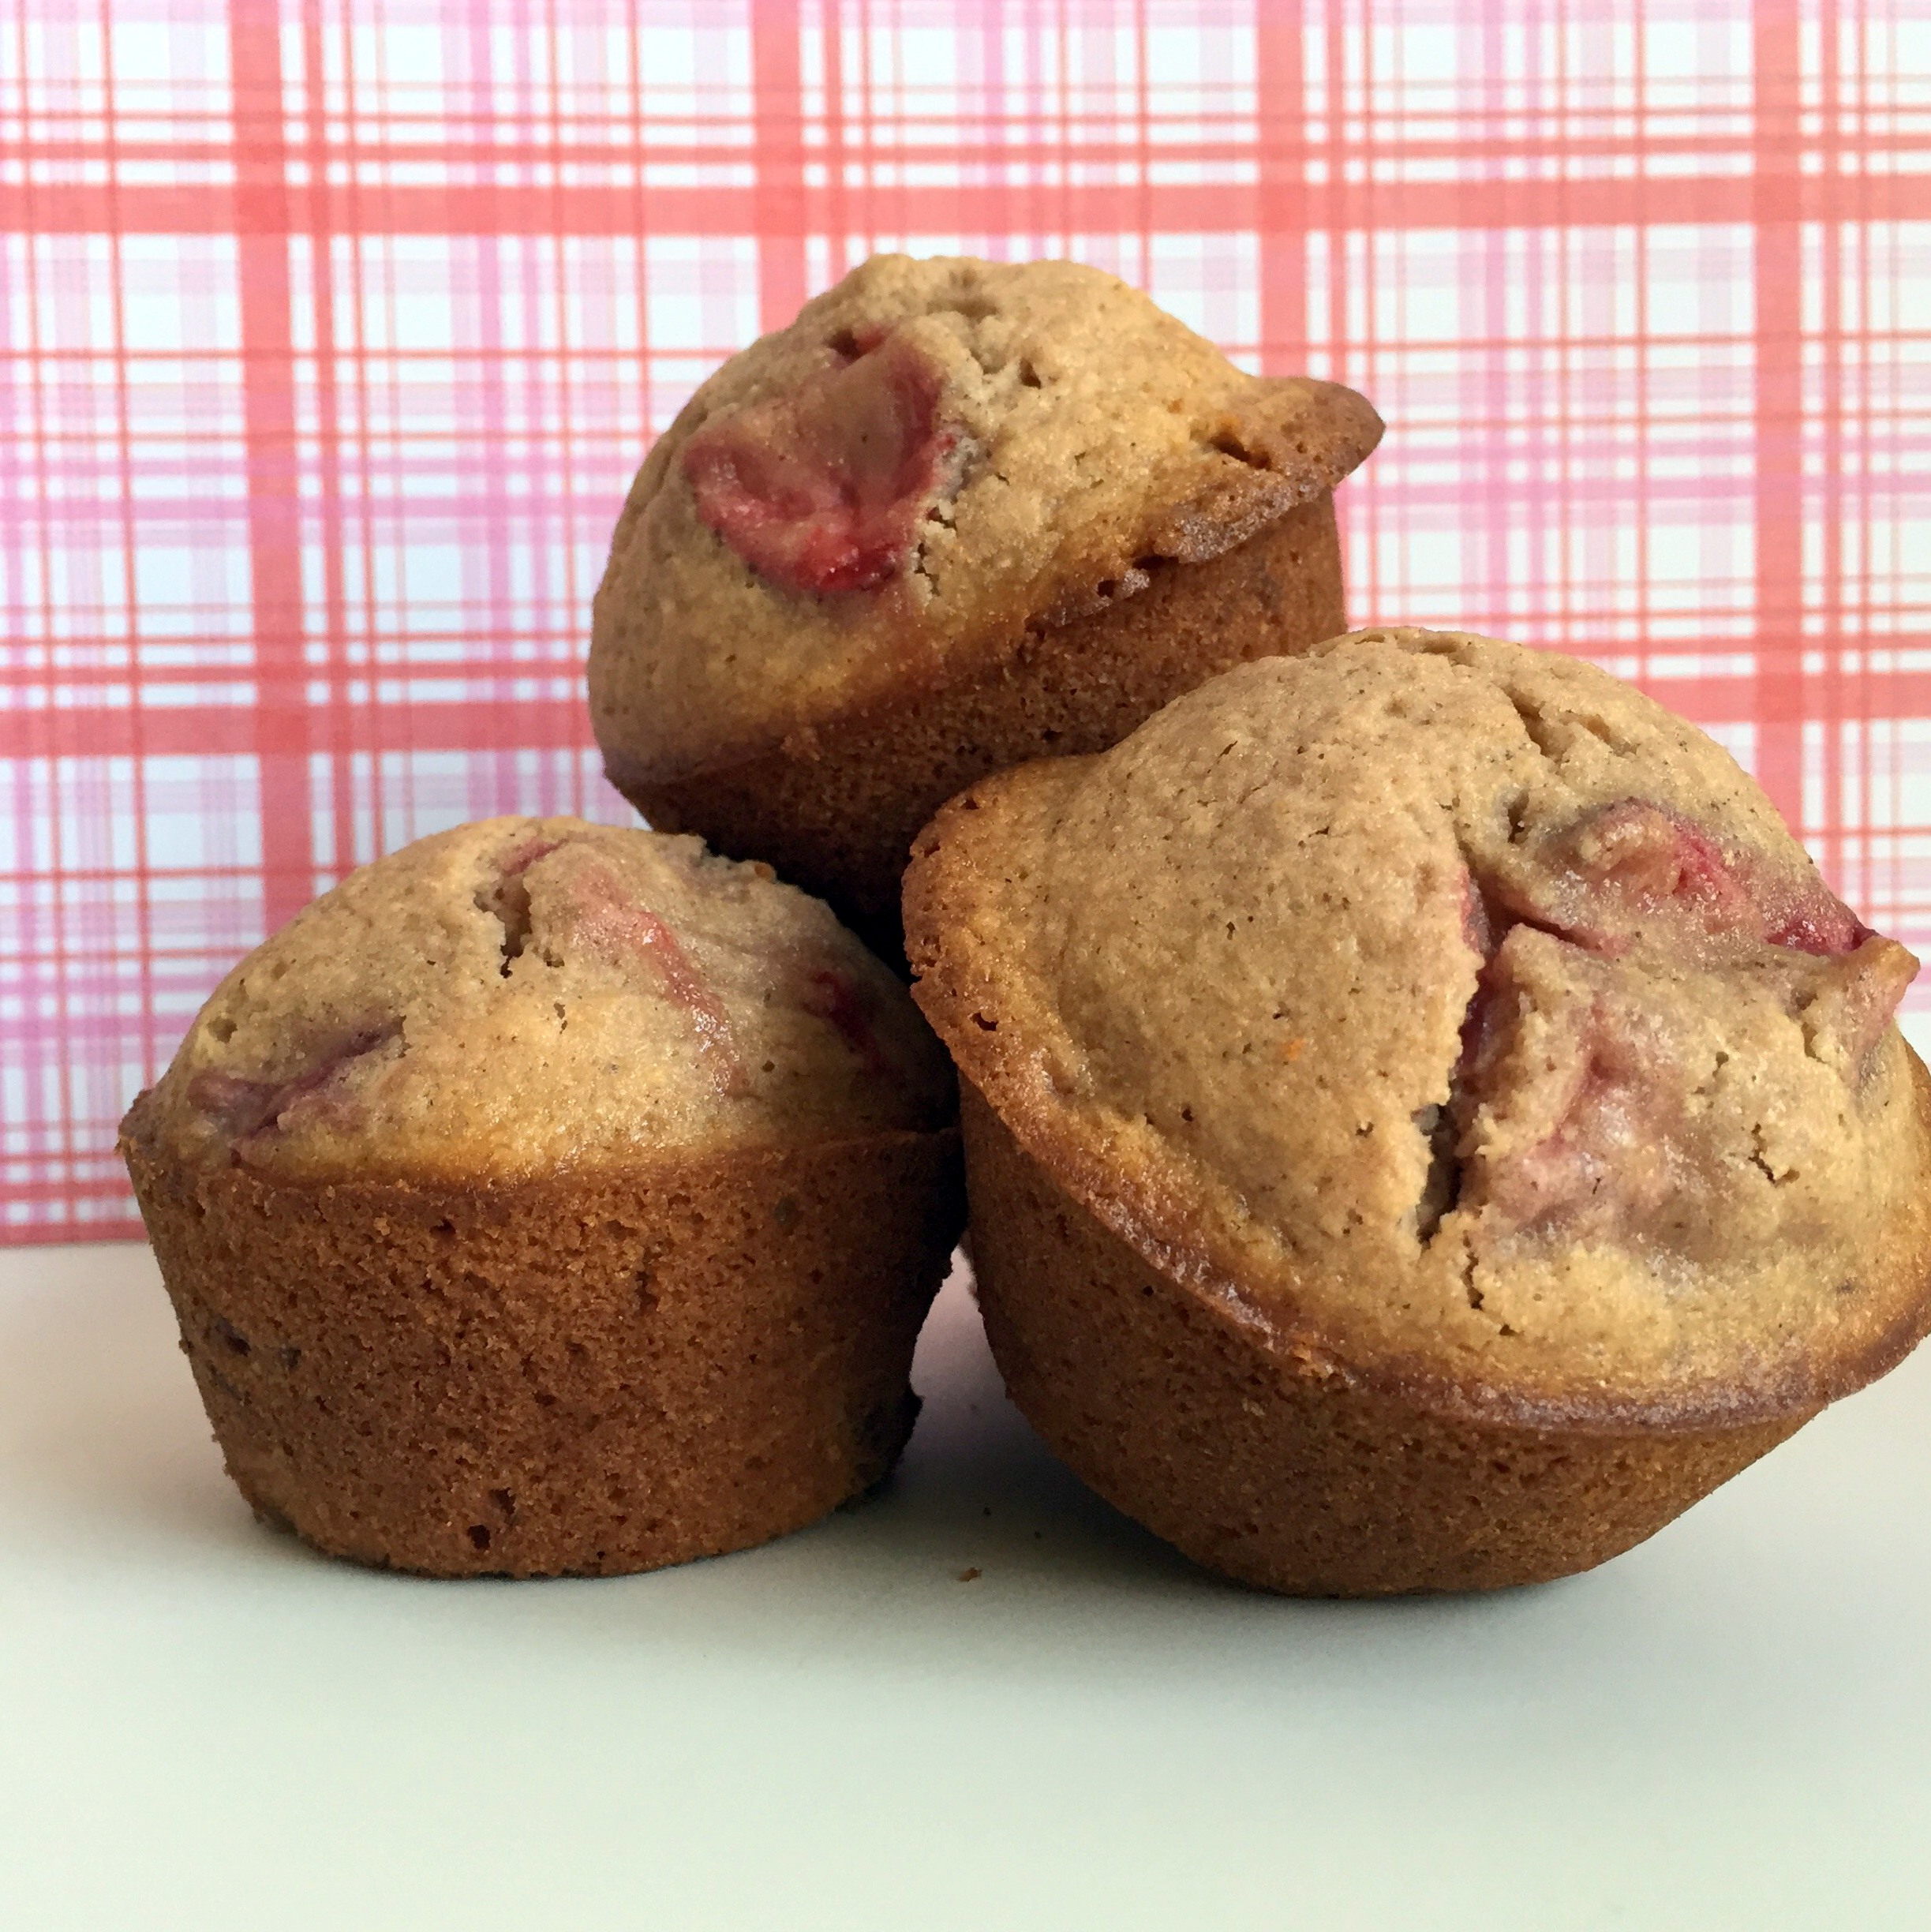
Fresh strawberry muffins. (And how I keep my strawberries fresher longer.)

Dairy-free | Soy-free | Nut-free

IMG_2364

It’s strawberry season again! At least in Florida. Right here in our own county we have some of the nation’s biggest and best strawberries–the epitome of delicious local produce. So last year we started a family tradition of going strawberry picking at one of the many u-pick farms nearby. Last year we thought we did pretty well with 11 quarts; this year, after only an hour and a half, we ended up with 25 quarts! (Including the quart that my youngest filled with her strawberry tops once she realized that she could eat the strawberries she was picking…)

IMG_2377

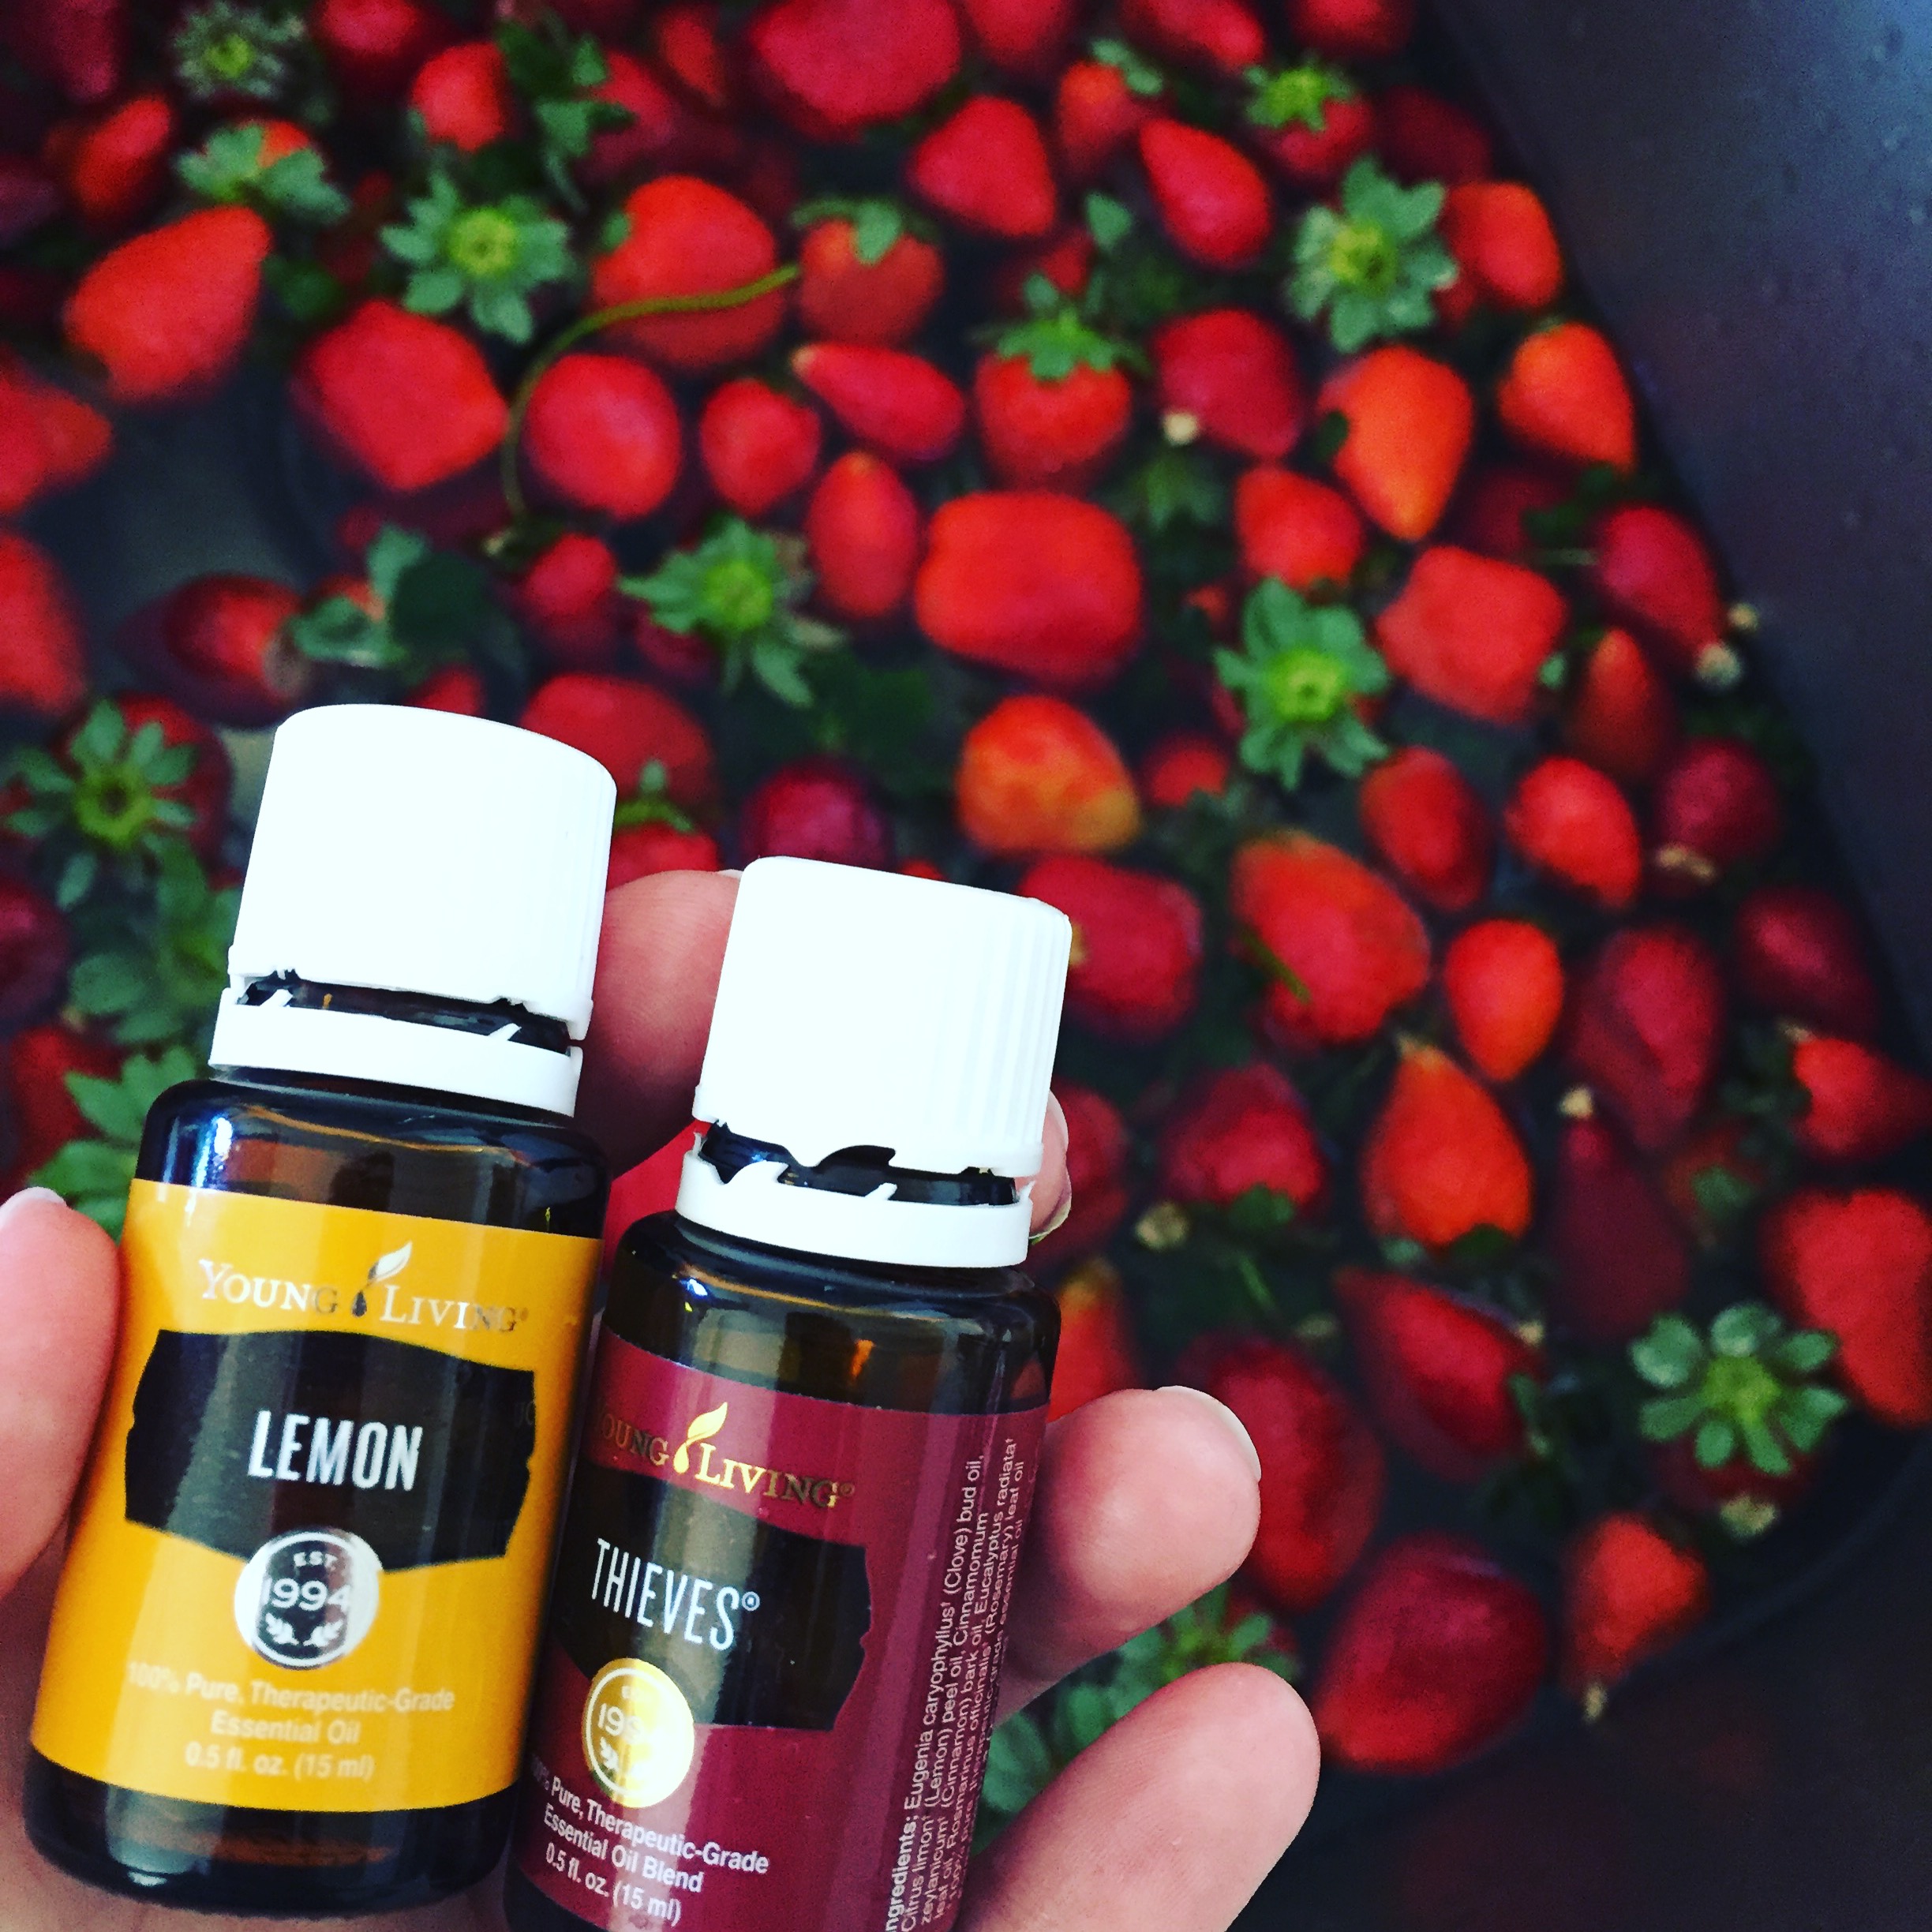
It took over an hour and a half to wash and cut all of those strawberries! So of course after all that effort I wanted to keep them fresh as long as possible! Here’s how I did it: I filled the big bowl of my divided sink with a few inches of water and added a couple drops of Thieves essential oil (a blend of spice oils with proven antimicrobial properties–the story goes that during the Black Plague, spice traders realized that the spices with which they were in constant contact protected them from the disease, so they used their immunity to loot the homes of Plague victims, hence the name Thieves) to disinfect the berries; I also added several drops of Lemon essential oil, an antioxidant, to keep the berries from going bad as quickly. Then I dumped in a box, which was probably 8 quarts’ worth. After each box I drained the sink and started again with the water, oils, and berries.

IMG_2318

These oils are therapeutic-grade, so they’re very potent; a little bit goes a very long way! Because I didn’t need to use much, there was no weird lingering taste on my delicious berries, and the ones I didn’t freeze stayed as fresh as the Friday I cut them for the entire weekend–because that’s all it took to eat them.

Now I’ve got over a dozen quarts of fresh-frozen berries to find delicious things to make with! I’ll definitely be making fruit leather, popsicles, ice cream, and smoothies, but I wanted to try something new this year. These muffins are perfect for a spring morning. They complement and retain the sweetness-with-a-touch-of-tart of the strawberries. They use refined sugar, so they’re not clean, but I did use whole-wheat pastry flour to make them a little bit healthier and more filling while keeping them light. And they’re dairy-, soy- and nut-free!

By starting the oven at a high temperature and then reducing it, you get a great puffy crown on the muffins that leaves them very light and delicious. This recipe makes about 18 regular-sized muffins, or I did a dozen regular and another dozen mini muffins.

***Note: Canola oil is easier in this recipe, but as I had run out, I used coconut, and it lent a delightful depth of flavor to the muffins and left my whole house smelling incredible. However, unless your strawberries AND eggs are completely room-temperature, you’ll have a solid lumpy mass on your hands; I had to warm the oil/strawberry/egg mixture in my microwave at half power for several 30-second interval to get everything the correct consistency again.

Fresh Strawberry Muffins:

Original recipe here

  • 3 cups whole-wheat pastry flour or unbleached all-purpose flour
  • 1 1/2 cups granulated sugar
  • 2 tsp baking powder
  • 1 tsp salt
  • 1 tsp cinnamon
  • 4 large eggs, beaten
  • 1 1/4 cups canola oil or melted and cooled coconut oil (see Note above)
  • 2 1/2 cups fresh (or frozen from fresh–not storebought in a bag frozen–and thawed) strawberries, sliced and slightly mashed
  1. Preheat oven to 425 and lightly grease the wells of your muffin tins with soy-free cooking spray.
  2. Combine dry ingredients in a large mixing bowl.
  3. In a medium bowl, combine eggs, oil, and strawberries, mashing with a fork if desired to get smaller strawberry pieces.
  4. Add liquid ingredients to flour mixture and stir until combined. Do not overmix.
  5. Spoon 1/4-cupfuls (for standard muffins) or 1/8-cupfuls (for mini muffins)–a triggered ice cream scoop works great–into the wells of your muffin tin.
  6. Bake at 425 for 5 minutes, then reduce heat to 350 and bake another 15-19 minutes until a toothpick inserted in the center comes out clean.


Leave a comment

Filed under Recipes